Archive | March 2012

Seed testing

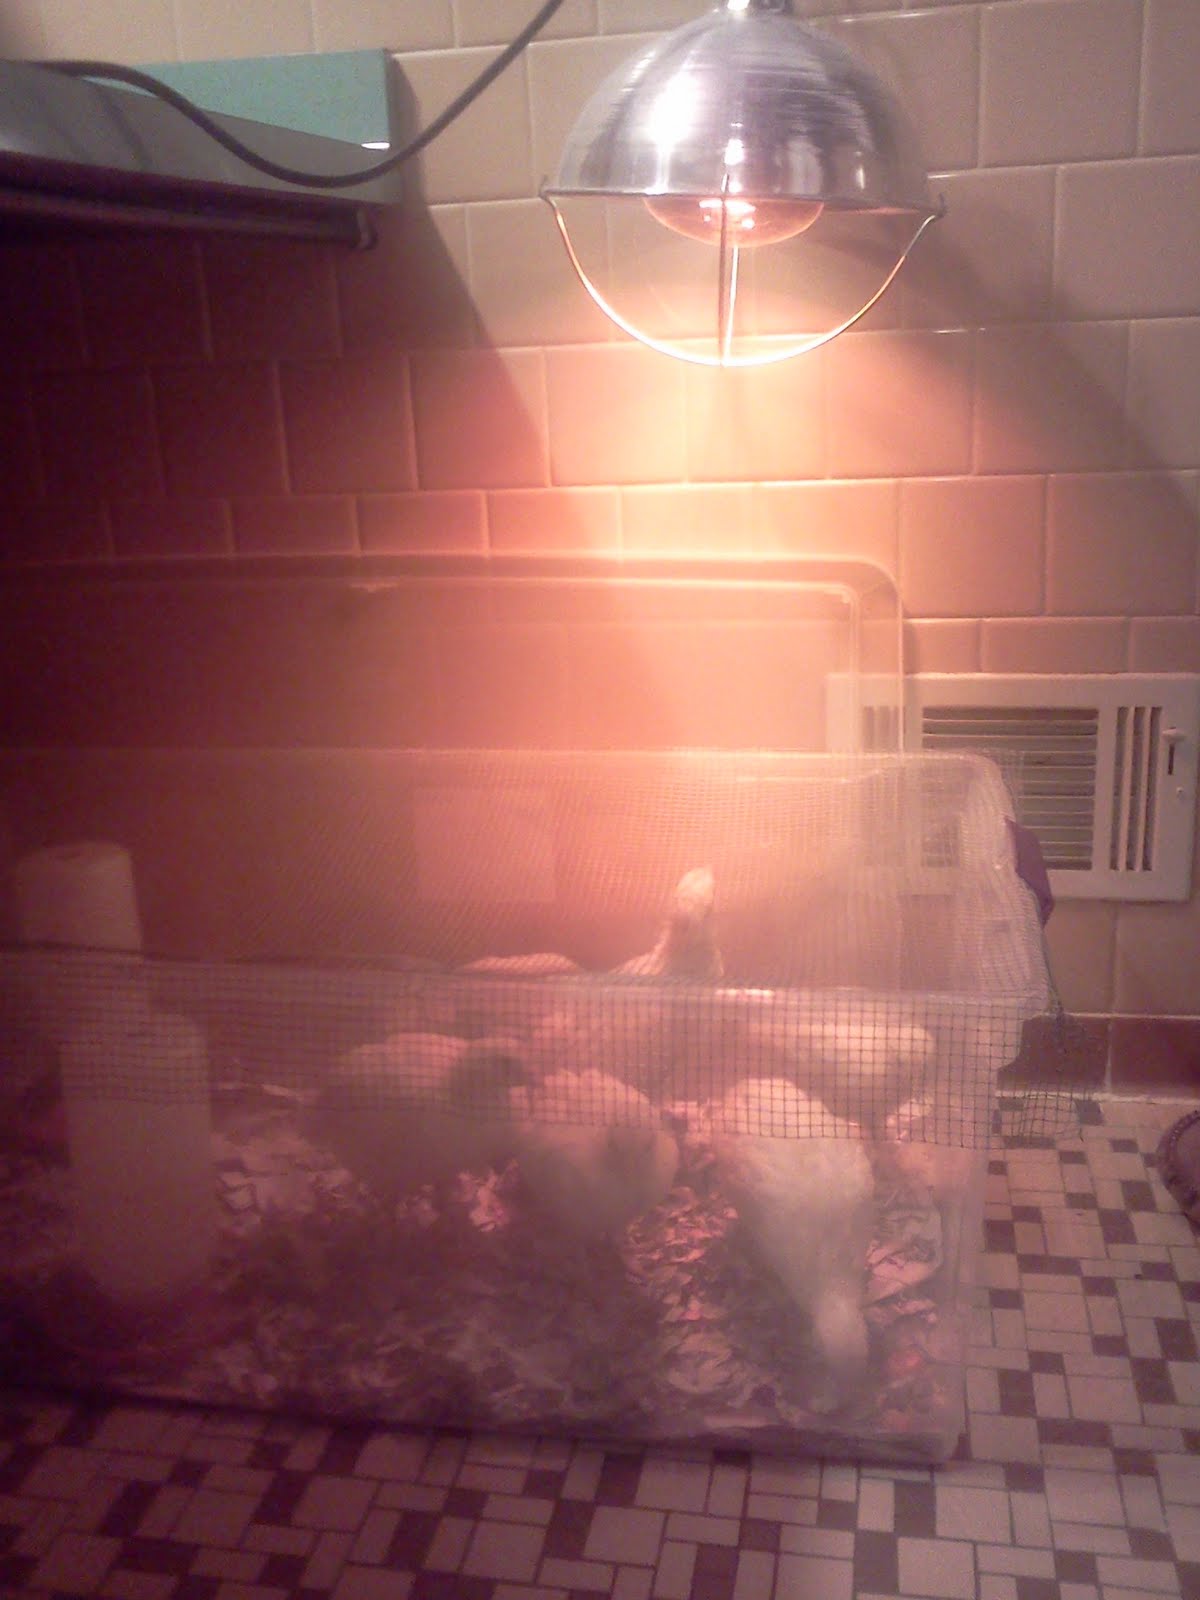
I know Christmas just finished but I have spring on my mind.  I am so excited to get the garden growing this year.  We had quit a few packets of seeds from 2010 that I wanted to check and see if they were any good.  I hate to just throw them away when I can turn them into food.  I put about ten of each type of seed on a wet paper towel in a ziplock bag.  Each bag is labeled and I set them on the table inside the “growhouse” Ryan just built for me.  The “growhouse” is a small part of the basement that we sectioned off with shower curtains.  Inside the shower curtains we put two tables that make up a space that is 6 foot by 4 foot.  We suspended two 4 foot fluorescent light fixtures above the tables and a heat lamp.

This “growhouse” is also where I plan to start my seeds in a couple of weeks.  I don’t know how I already feel behind, I guess the warm weather is tricking me into thinking that spring is coming soon.  I will let you know how my seed testings turns out.


Update: 1/10/12- So the seeds that I tested turned out to be no good.  One two seeds sprouted out of all the seeds that I put in bags.  I am glad that I decided to test the seeds before planting them.  This is heart breaking but not as heart breaking as planting them and having nothing come up.

The yogurt cups that you see in the picture have onion seeds in them.  Three of them have just started to sprout.  I am so glad I am starting early.  I would rather have big onions then no onions at all.

Seed testing in the new temporary grow area.  

Apples, apples everywhere

Well we are learning some lessons the hard way!  We bought 2 bushels of apples from a local farmer the first week of November.  I talked to them about how to store them for the winter and made sure I bought apples that were good for wintering.  I stored them just as the orchard suggested.  I was so proud of myself and so excited to be enjoying local apples all winter long.  Well Mother Nature threw me a curve ball.  The temperatures for November and the beginning of December have been so mild that all my apples have started to go bad.  Apple sauce anyone?  I have been canning apple sauce, drying apple rings and baking.  These are all wonderful things, but not the fresh, crisp apples that I was looking forward to in February.

This weekend I was able to start a hot composting pile.  The pile was started on Saturday and the temp in the pile is already

December is a time of year when money is tight for everyone and our family is not different.  We are running low on money as well as chicken feed.  I am hoping to find a local brewery that has some brewer grains that they would like me to take off their hands.  I have made a few phone calls today with no luck, but I still have hope.

Winter planning

Yesterday it was 58 degrees here in Baltimore.  I could feel my body aching for time in the dirt.  This kids and I spent a couple hours outside playing with the chickens and tending to the very confused garlic plants.  I planted the garlic around Halloween and they are growing really well.  We have had such a mild fall that I am worried that they are going to die when it gets really cold outside, they have already grown about 4 inches.  I mulched them and covered them with straw, but I might have to add more straw if snow comes.

We have been collecting supplies for the green house, the grow beds and new raised beds. There is going to be another round of lay offs at my husbands job so we are holding off building anything until we find out if he still has a job.  So far we have collected at least half the recycled windows for the green house and we have an arrangement with a local window replacement company to be able to go back anytime for the rest.

In order to satisfy my dirt craving we are going to build a cold frame this weekend using some recycle lumber and the windshield of my old jeep wrangler.  I am going to plant some lettuce, collard greens and cabbage.  I am looking forward to watching things grow.


The chicken coop has been insulated for the winter, even though they have not needed it very much.  We have had only about 10 nights below freezing.  The only difference that we have noticed in the chickens with the slightly cooler weather is they are eating about twice as much as they did in the summer.  To help keep the feed cost down I try to let them run around for at least an hour a day in the backyard.  They really enjoy the worms, salamanders and slugs that they find.  We have also started sorting our compost into two bins.  One bin is the tissues, potato peelings, onions and coffee grounds that the chickens can not have.  The other bin is everything else.  The chickens are getting all the other table scraps, which they think is just a wonderful idea.

For extra compost I have been getting scraps from a market in a near by town.  I have also been collecting leaves from friends who I know do not have dogs.  We are in need of as much dirt as possible, especially with 6 new raised beds going in this year.  During my last trip to see some friends in Virgina I came home with a cooler of beef and a rubber maid tote of cow manure. There is some hot composting in our future.

What do you do in your garden during the winter?

Peaches

The height of peach season has begun.  The farmers market had 1/2 bushel of peaches for $12.  The sweet taste of peaches in the dead of winters is one of my favorite things.  It is like canning a ray of sunshine.  This is the second year that I have canned peaches as an adult.  I used to can with my mother when I was younger, but I think the only job I had then was to eat as much as I could before she put it in the jar.  So as an adult with the Ball Canning Guide by my side I learned how to can peaches, I still eat some as I go, I can’t help myself.

OK back to my 1/2 bushel.  Some of the peaches were bruised and not too good for canning as just peaches so I made them into jam.  For the first time I used something called No Sugar needed pectin.  I was nervous.  When I made jam with my mom sugar was a major ingredient.  However the No Sugar pectin worked great.  I just followed the directions on the bottle, it was easy and I got great jam out of it.

The second thing that I did with my peaches was just can sliced peaches. I washed and blanched them to removed the skins, then I just sliced them into quarters.  I made a simple lite syrup using very little sugar.  I raw packed my jars, meaning I did not cook the peaches, and I poured my lite syrup on top.

The last thing I made was peach “juice”. At the suggestion of a friend, I took all the skins and pits and boiled them for about 45 minutes.  The idea was to make peach jelly.  Ryan decided that he would rather have “juice”. Using a kitchen towel I drained the liquid off, put it in jars and canned it for 15 minutes in my canner.  It will be great peach tea or juice in the winter.

So my 1/2 bushel became 12 half pints of jam, 8 quarts of peaches and 5 pints of juice.  All in all it was a very productive evening and I think I got my $12 worth out of those peaches.

Tomatoes

Today at the Catonsville farmers market I was able to pick up 50 lbs of tomatoes for $20.  Since this is the first time I have bought that many tomatoes I am not sure if it is a good deal or not but being able to can my own means that I can control what goes into them.  Ryan has high blood pressure so being able to control how much salt is in our food is very important to me.  Also with the Celiacs Disease I know that there is no chance of cross contamination with these sauces and tomatoes.

So what did I learn today: First, I learned that I needed a bigger canner!  I had never canned anything other than peaches, pears and jams, which means I have never canned anything larger than a pint.  Today I canned quarts, my little canner was just not big enough to handle the job.

Second, next year I need to invest in a bigger stock pot to make my sauce in.  I had to do it in two batches.  The first batch that I made I did not peal the tomatoes first, I just washed and sliced.  The second batch that I made I blanched the tomatoes first and took the skins off, then I squeezed some of the seeds and extra water out.  The second batch that I made reduced to sauce much faster and I did not have to strain out the skins.

Last,  I learned that vinegar works just as well as lemon juice as a preserving agent.  This was a great discovery because I did not have enough lemon juice for the job, and I had tons of vinegar.  As long as the vinegar is 5% acidity.


So at the end of the day I have 7 quarts of sauce and 10 quarts of whole tomatoes.  No bad for a days work.  I know it is not enough to last us all year, but it is a good place to start.  Next year I hope to can enough tomato sauce to not have to buy any from the store.  Eventually, my ultimate dream would be to grow all of our own tomatoes and not have to buy any sauce from the store… I think we are a few years away from that, but it is nice to have goals.

Correction: our second dozen

I was so excited two days ago to announce that we had received our first dozen eggs, however, we learned today that the chickens have actually laid two dozen eggs, not one dozen like the thought.  So little did we know that our chickens had been laying eggs in a compost pile that we were letting cook and had slightly covered and stopped adding food scraps and lawn clippings too.  When Ryan went out to turn the pile this afternoon he found a very nice nest in the grass clippings.  In this nest there was 14 eggs.  We cannot believe it.  This whole time we thought that only two of the chickens were laying eggs when actually 4 of them are laying.  We are sad to say that we are going to just turn those eggs into the compost.  We are not sure how long they have been sitting there and do not really want to break them open.  But we learned a very important lesson today, leave the chickens in coop until noon, this way they lay the eggs in the very nice nesting boxes that we made for them and not in the compost bin and not next to the spare tires.

And then there were 5

Tonight when I looked out back I saw the dog eating a chicken. Ryan went out and got the chicken away from the dog and put the dogs in the house. I went out and grabbed the chicken. Coming from a medical background the first thing I thought about what how can I fix it. The wounds were on the back, neck and she had a broken foot. Without giving you the details the wounds were really big and more feathers/skin were missing then I wanted. The care giver in me still wanted to try and do something. We hooked up the hose to clean the wounds. Finding the one on the neck we decided that the most human thing to do was to put the girl out of her misery. The only problem with this plan is we had no idea how to do such a thing. After making some phone calls and gathering information we tied her up and Ryan did the deed while I got a trash bag.

It is amazing how they become part of the family so quickly. How did we get so attached to a chicken so quickly?

Our first dozen

Over the last six months we have bonded with our birds.  They are all members of the family.  I know that sounds so hippie like but it is true.  They bring us so much joy and we really enjoy just watching them do chicken things in the backyard.

Ryan and I built them a very pretty chicken coop.  (That is a post I hope to back blog about).  It has two nesting boxes in it, including very comfortable wood shavings to lay their eggs on.  Everyday we would go out in the morning to let them out and we would check for eggs.  We anticipated the day when there would be wonderful eggs waiting there for us.  Last week I went out to let the girls out in the morning as I normally do, I checked for eggs and yet again nothing.  As I started my walk back towards the house I noticed that one of the chickens went into the area where Ryan keeps the lawn equipment.   I watched this chicken make a nest one a pile of rocks with some leaves and grass from the yard.  The nest was in the corner behind the gas cans next to the spare tires.  There in this very red neck nest our “green” chicken laid her first egg.  A joy came over me.  It was so cool and exciting, such a rush. I am sure the rush feeling was only increased by the gasoline fumes.

The next day the “purple” chicken laid an egg in the red neck nest.  We have gotten 2 eggs a day for the last six days and today we have our first dozen.  What a joy this whole process has been!

Bringing home chicks

Some of my posts are “flash backs” from what we are doing now. There is some information that I wanted to cover so I am back blogging.


Now that the chicks are at their new home, we had to find a safe place to keep them.  They need to stay inside till they are over a month old.  I did not mind that they needed to be inside, it would be fun, however I was worried about how fun the cats thought it was going to be.  We needed to figure out a way to keep them safe, warm, and keep my house clean at the same time.  For a brooder, a chick house, we used a 18 gallon rubber made tote. I got it at Target for under $20.   Using a strong wire fencing, it is called hardware cloth,  on top we were able to attach it to the tote using clamps.  It was a strong enough top that the cats could sleep onto of the hardware cloth and the dogs could not get in.

Their other needs are pretty basic as well. Food, water, and heat. If given the chance chicks will drowned themselves in their water bowl, they are cute but not very smart.  To help prevent this we used the brooder feeder for water and the water can for food.  The feeder has small holes in it that prevents the chicks from being able to fall all the way in the water.  Chick feed, we got Starter/Grower feed.  A really big bag of chicken feed is like $15 at Tractor Supply.

For bedding we used shredded newspaper.  It worked and they delivered it to my door everyday! I had to clean out the newspaper every other to everyday as the chicks grew they produced more poop.

So these are the beginning basics.  There are many good books are the market to help, I would recommend Storey’s Guide to Raising Chickens by Gail Damerow.  It has wonderful information about the chick stage and designing an outside coop.  Other books had good information in them, but they left me wanting more.  The Storey’s Guide answered all of my questions.

I hope this helps and I will continue to post more about are food independence journey.

Why I do what I do

So why do I keep a blog and why do I grow my own food.  I am not a writer.  I am not a lifelong farmer nor do I have an agricultural degree.  I am just a Mom who wants to save some money and provide my family with the best food possible.  We have seen a drastic increase in gas prices over the past couple of years.  Food prices have also started to rise and will continue to go up.  The last, but certainly the not the least reason why I want to grow my own food is health reasons.  My husband and kids have Celiac Disease.  So many foods are made with fillers and preservatives that have hidden gluten in them.  I want to keep them healthy.  Ok so enough with reasons, here is what he have been up too.

                My first post was about my girls.  They are so much fun.  When we first got them they were yellow puff balls that lived in a Rubbermaid tote in our bathroom.  They outgrew the Rubbermaid tote in about a month.  From there they moved outside into a small dog house and a fenced in area.  I called it the “mini-coop”.  They stayed in the “mini-coop” while I tried for find the perfect chicken coop design.  After a couple days of searching I decided that finding the perfect coop was just like finding the perfect purse, it was never going to happen.  However, I did find a coop that was close to what I wanted.  www.thegardencoop.com has simple chicken coop plans that work well with are yard and our needs.  The good thing about buying a chicken coop plan is that my husband and I could be on the same page.  We were able to build most of the coop our of recycled materials.  The out of pocket cost for us was about $100.

                The girls love their new coop.  The roof gives them a place to get out of the weather and a nice safe place to roost at night.  Here is a picture of our finished hen house, I think it turned out great!